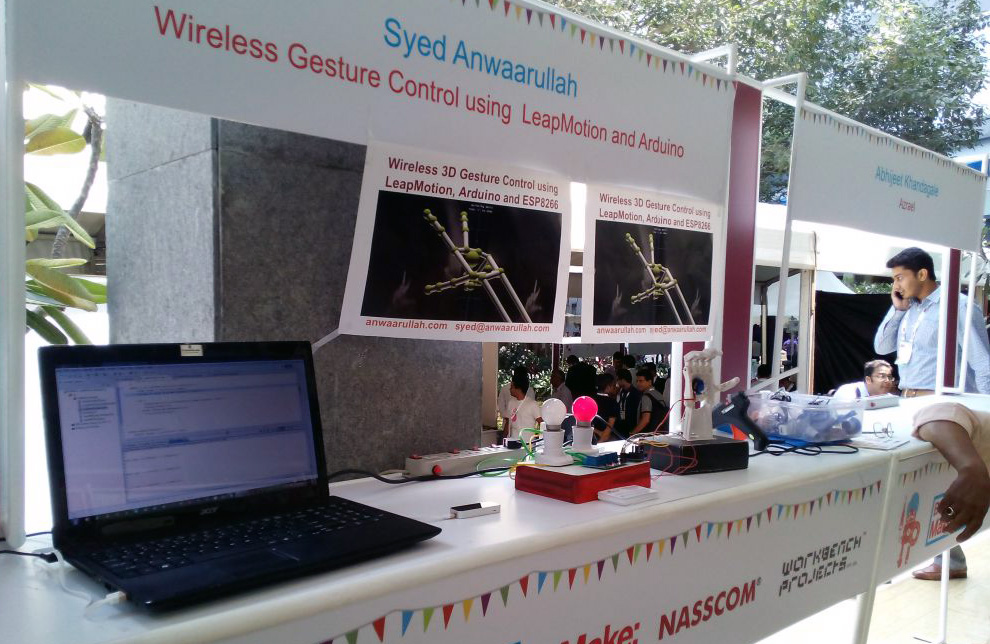
There are no limits to what you can hack together with the Leap Motion Controller – which is why this year’s Leap Motion 3D Jam includes an Open Track for desktop and Internet of Things projects! In this post, hardware hacker Syed Anwaarullah walks through his 3D-printed robotic hand project, which appeared at India’s first-ever Maker Faire. The Arduino Leonardo and ESP8266 WiFi module that he used are both on the 3D Jam approved hardware list, and the project is completely open source!
After having played around with wirelessly controlling Arduino with Leap Motion through Bluetooth two years back, I didn’t get an opportunity to tinker more with Leap Motion and Arduino. But when the call for project submissions for India’s first Mini Maker Faire opened, I decided to re-do this project, albeit using the popular ESP8266 WiFi module instead of a Bluetooth one.
To get started, I updated the Leap Motion SDK and noticed a bunch of improvements, including new features in the Visualizer. I cloned my earlier code and started testing out the Java example.
After getting this done, we turn to programming the Arduino to configure the ESP8266 to receive data and then have some fun. In my first approach, I tried to use the ESP8266 in Client Mode, wherein it connected to the WiFi Router and received data from my PC. This seemed cumbersome as I had to carry the WiFi Router to demo the project. I decided to configure the ESP8266 in Access Point Mode (AP/Hotspot) and get the PC directly talking to the ESP as a Client.
After writing a simple Client Socket code in Java, and testing out if the data was being received at the ESP, it was now time to glue them all together.
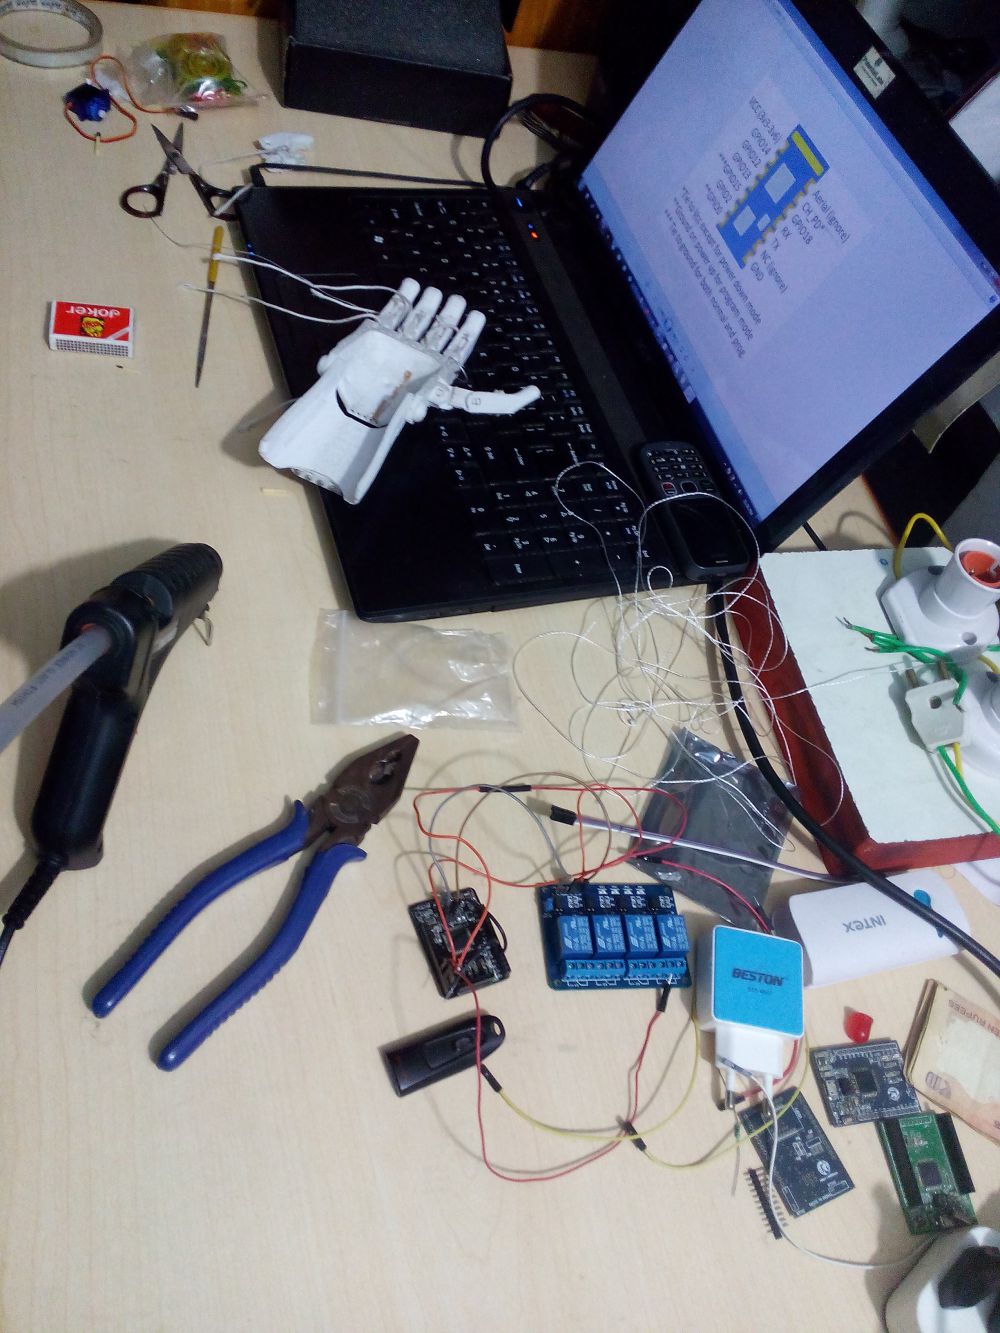
And this is how it started off:
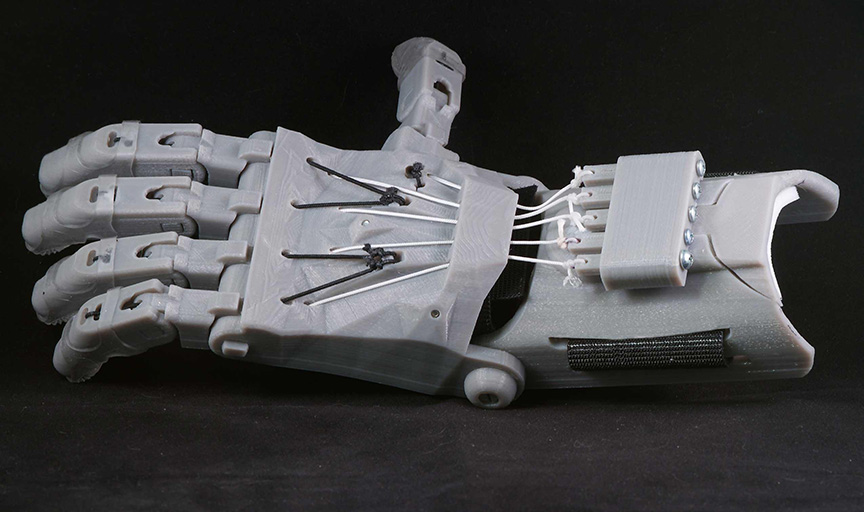
I had a printed Raptor Hand and I felt the demo would be made much better by getting a human arm to control a prosthetic arm.
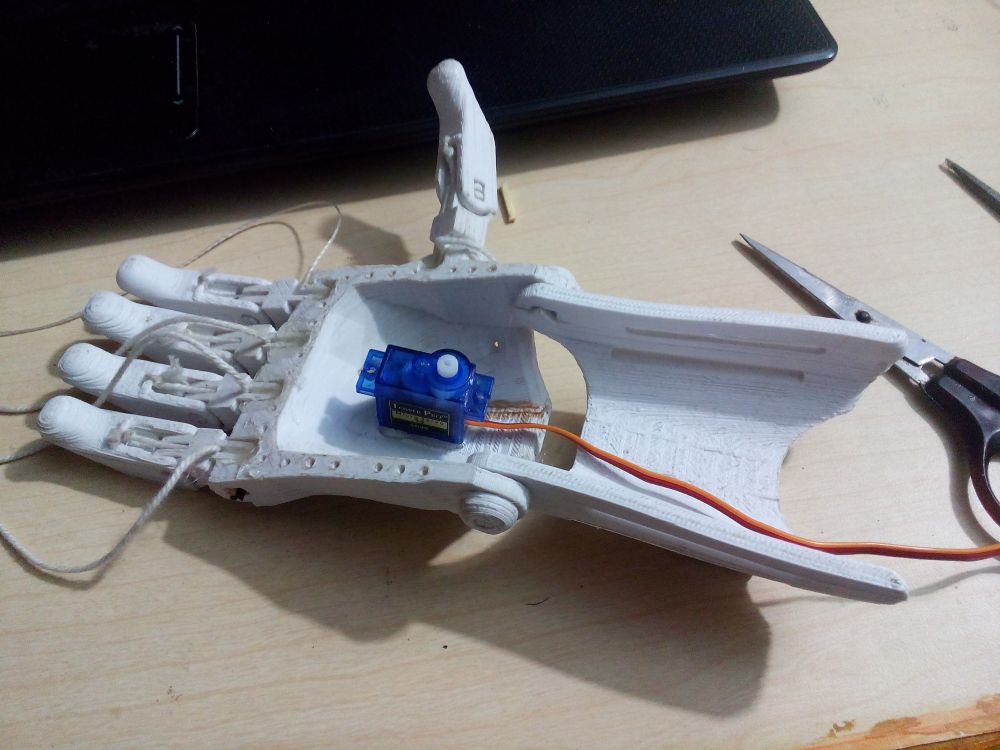
Here, you can see I’m using a simple SG-90 Servo Motor to control the Arm movement.
After gluing, filing, and threading around, the project was almost in shape and ready to be demoed at the Maker Faire.
And after dozens of man-hours, we finally got it all working:
The LeapMotion counts the number of fingers and sends it over the to an Arduino Leonardo derivative board which has an ESP8266 (ESP03) hard-wired beneath. The following actions take place:
Finger(s) Count: 1 → Turn ON Yellow Light
Finger(s) Count: 2 → Turn OFF Yellow Light
Finger(s) Count: 3 → Turn ON Red Light
Finger(s) Count: 4 → Turn OFF Yellow Light
Finger(s) Count: 0 → Close Arm
Finger(s) Count: 5 → Open Arm
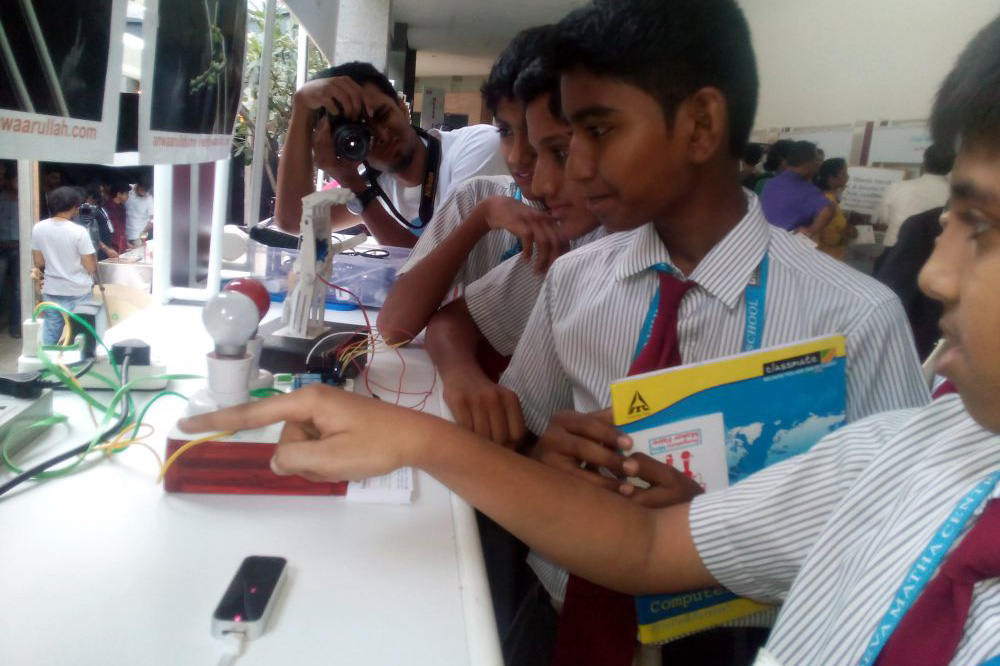
It was now time to show this “off” at the Maker Faire:
Most of the folks enjoyed opening/closing the prosthetic arm. Kids enjoyed it a lot (and I had a good time interacting with them) and other Makers.
And now, let’s dig into the working and the code behind all this fun.
The entire code (Java and Arduino) can be cloned from this repo on BitBucket. The project is also listed on Leap Motion’s Developer Gallery.
Quick Code Notes
- The method establishWiFiConnection() in Arduino configures the ESP8266 in Client Mode and createWiFiHotspotServer() configures ESP in AP mode.
- I’m using an Arduino Leonardo which has the Hard Serial Port wired to Serial1 class. If you’re using a Uno, you can use Software Serial Digital Pins 11 and 12 connected to a 4 Channel Relay Module (which is active low triggered)
- The IP Address in Java Class 192.168.4.1 is the IP Address of the ESP when running in AP mode. When running the ESP in Client Mode, replace this with the dynamic IP assigned to the ESP
If you need any help in implementing this (or other related stuff), you can email me at syed {Shift+2} anwaarullah d0t com.
An earlier version of this post appeared on Syed’s blog.