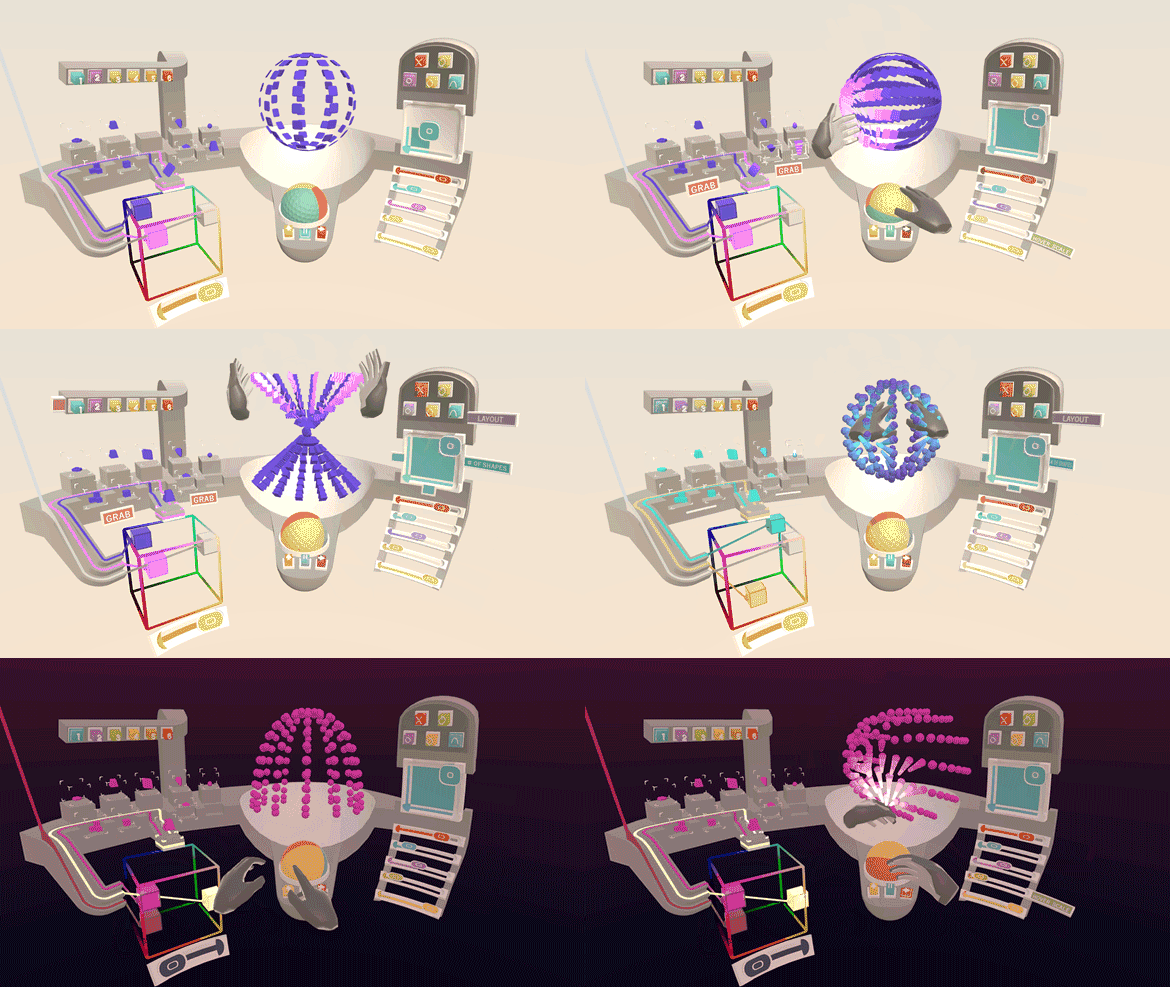
With the next generation of mobile VR/AR experiences on the horizon, our team is constantly pushing the boundaries of our VR UX developer toolkit. Recently we created a quick VR sculpture prototype that combines the latest and greatest of these tools.
Learn how to optimize your #VR project for the next generation of mobile VR experiences. Click To TweetThe Leap Motion Interaction Engine lets developers give their virtual objects the ability to be picked up, thrown, nudged, swatted, smooshed, or poked. With our new Graphic Renderer Module, you also have access to weapons-grade performance optimizations for power-hungry desktop VR and power-ravenous mobile VR.
In this post, we’ll walk through a small project built using these tools. This will provide a technical and workflow overview as one example of what’s possible – plus some VR UX design exploration and performance optimizations along the way. For more technical details and tutorials, check out our documentation.
Rapid Prototyping and Development at Leap Motion
In the early life of our tools, we take them through a series of shakedown cruises identifying micro projects where we attempt to use those tools. In the spirit of the ice-cream principle, the fastest way to evaluate, stress-test, and inform the feature set of our tools is to taste them ourselves – to build something with them. This philosophy informs everything we do, from VR design sprints to our internal hackathons.
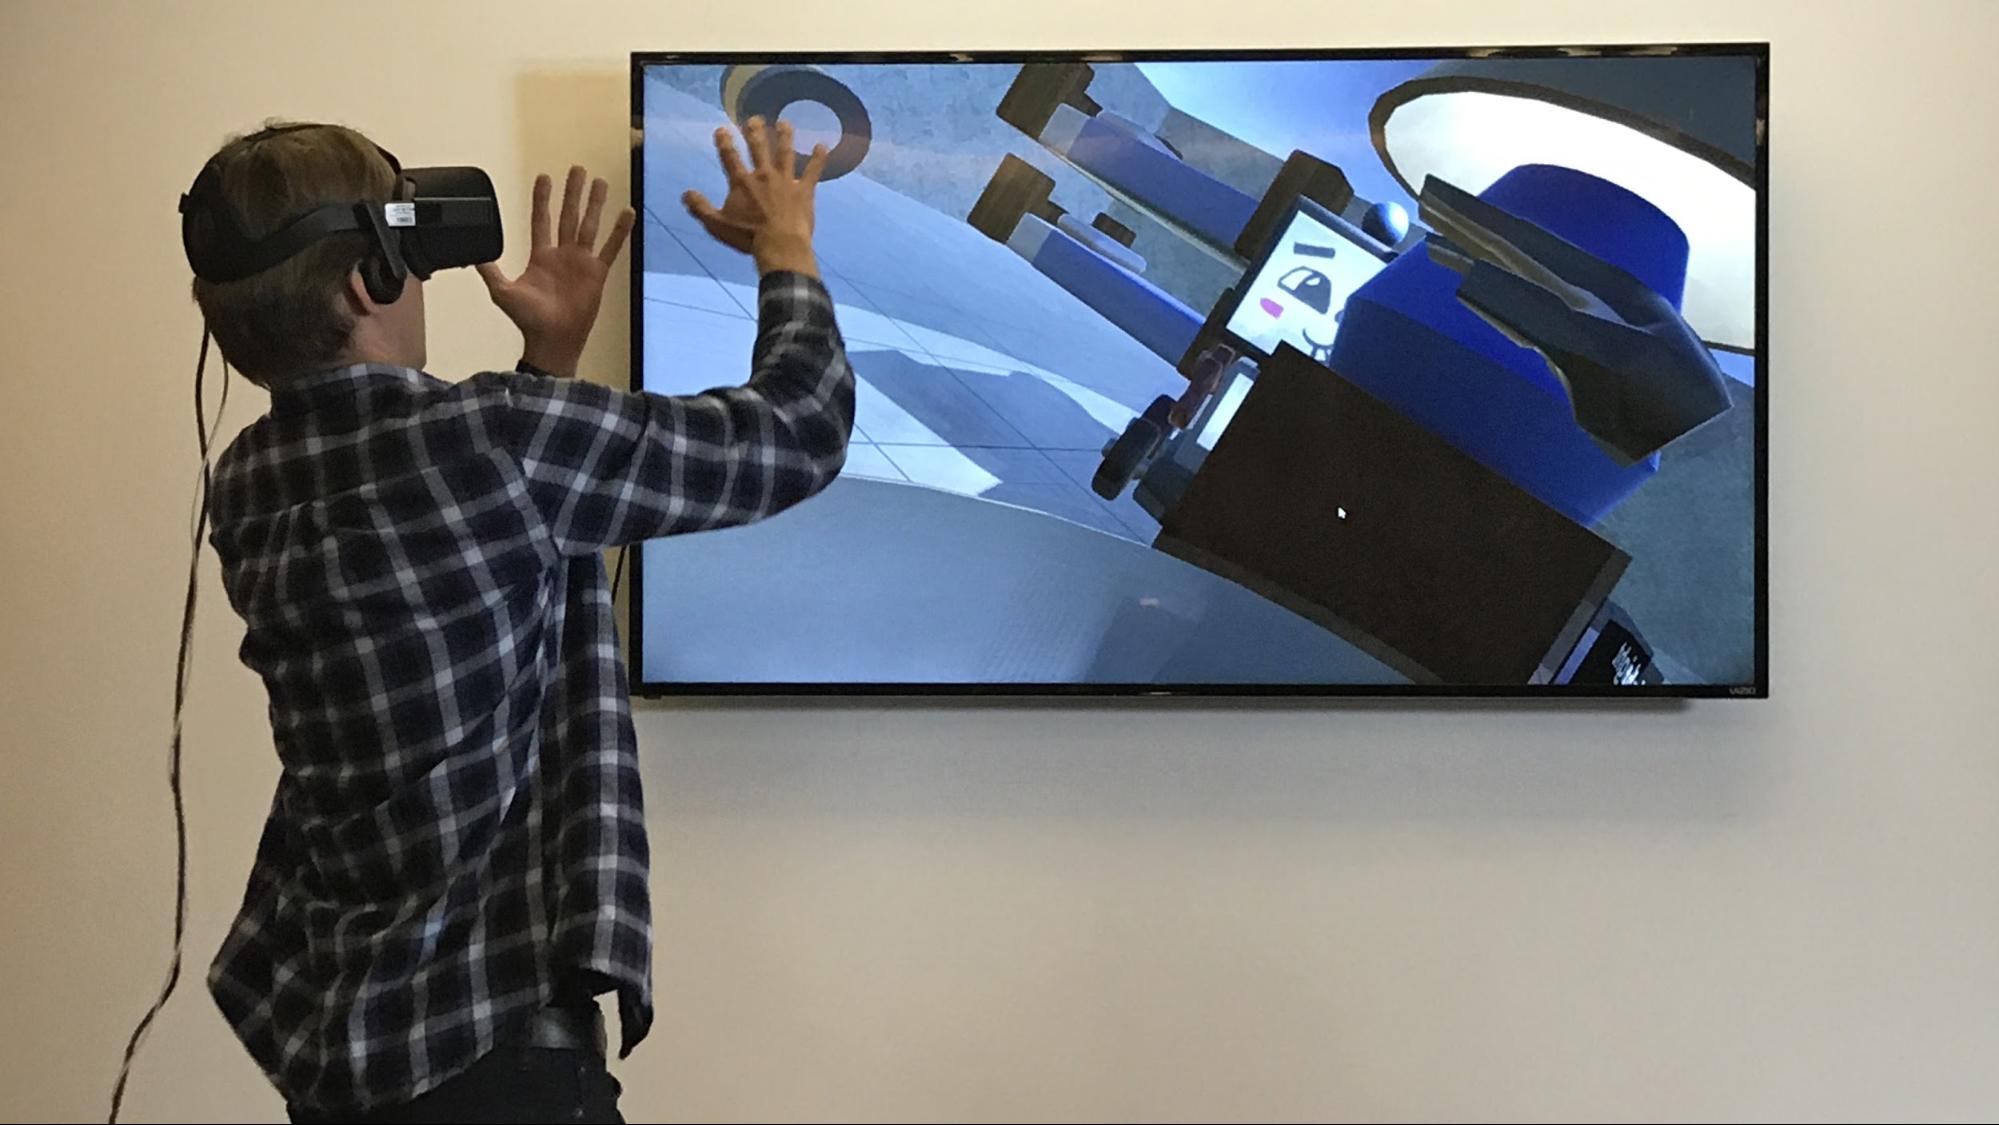
A scene from last month’s Leap Motion internal hackathon. Teams played with concepts that could be augmented with hands in VR – checkers in outer space, becoming a baseball pitcher, or a strange mashup between kittens and zombies. As a result, we learned a lot about how developers build with our tools.
What's the fastest way to stress-test our tools? Build something! Click To TweetPicking something appropriate for this type of project is a constraints-based challenge. You have to ask what would:
- Be extremely fast to stand up as a prototype and give instant insights?
- Give the development team the richest batch of feedback?
- Stress test the tool well past it performance limits?
- Unearth the most bugs by finding as many edge cases as possible?
- Reveal features not anticipated in the initial development?
- Can be highly flexible and accommodating to rapidly shifting needs?
- Continue to explore the use of hands for VR interaction?
- Be ready to fail?
- Make something interesting? (Extra credit!)
This long list of constraints makes for a fascinating and fun (really!) problem space when picking something to make. Sure, it’s challenging, but if you satisfy those criteria, then you have a valuable nugget.
A Living Sculpture
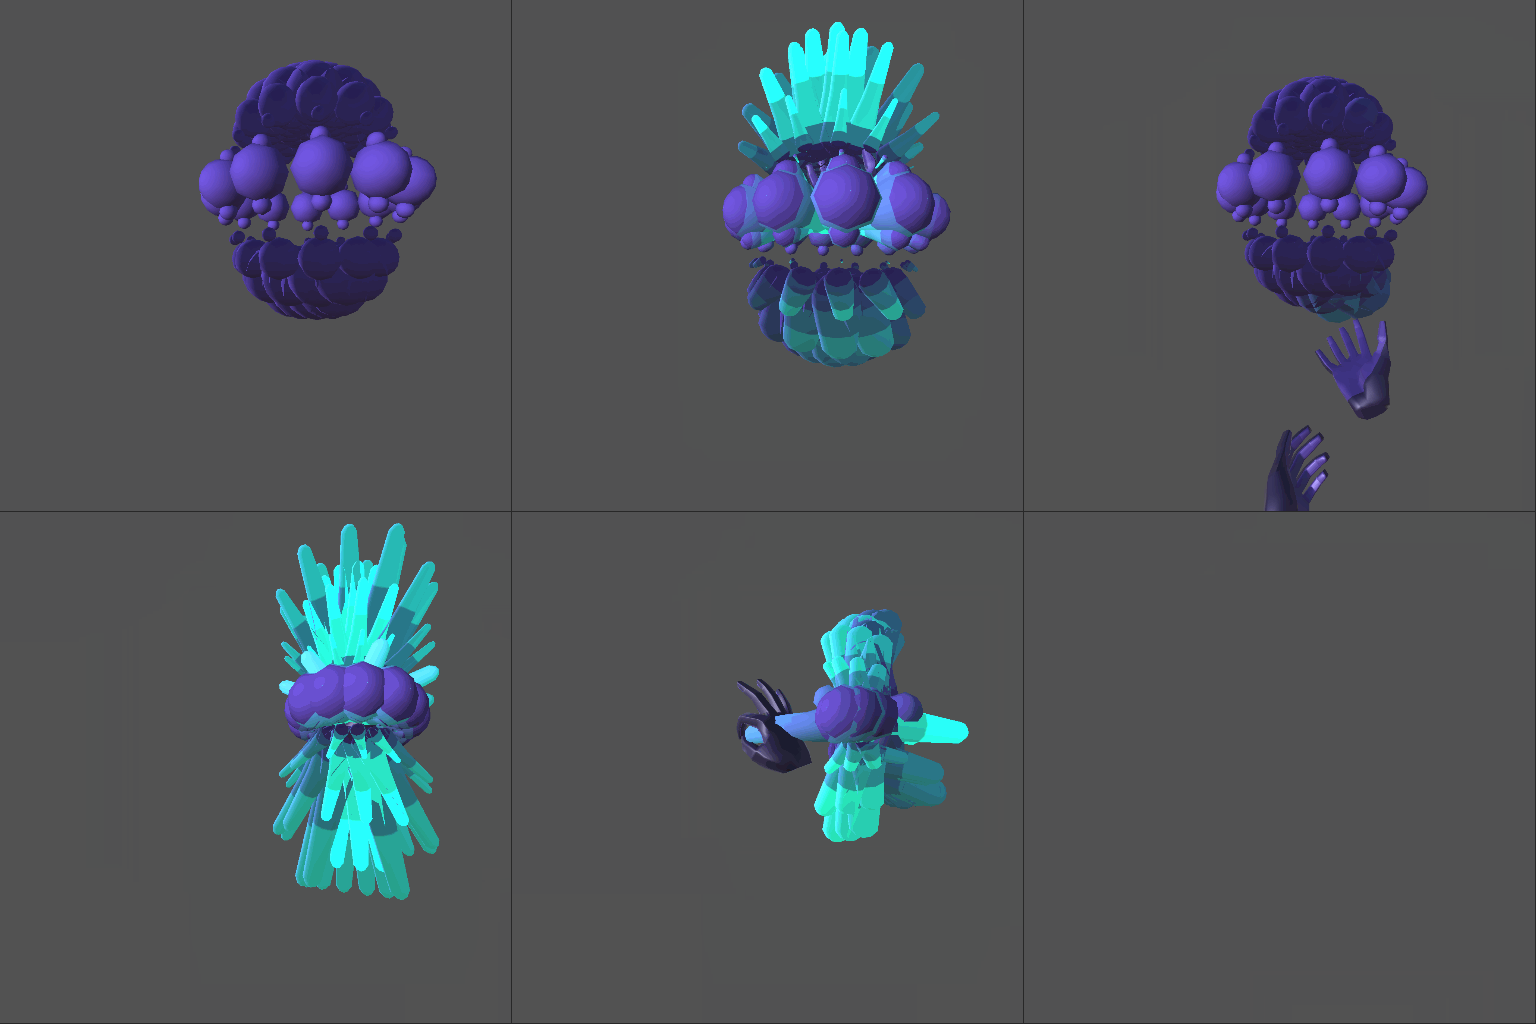
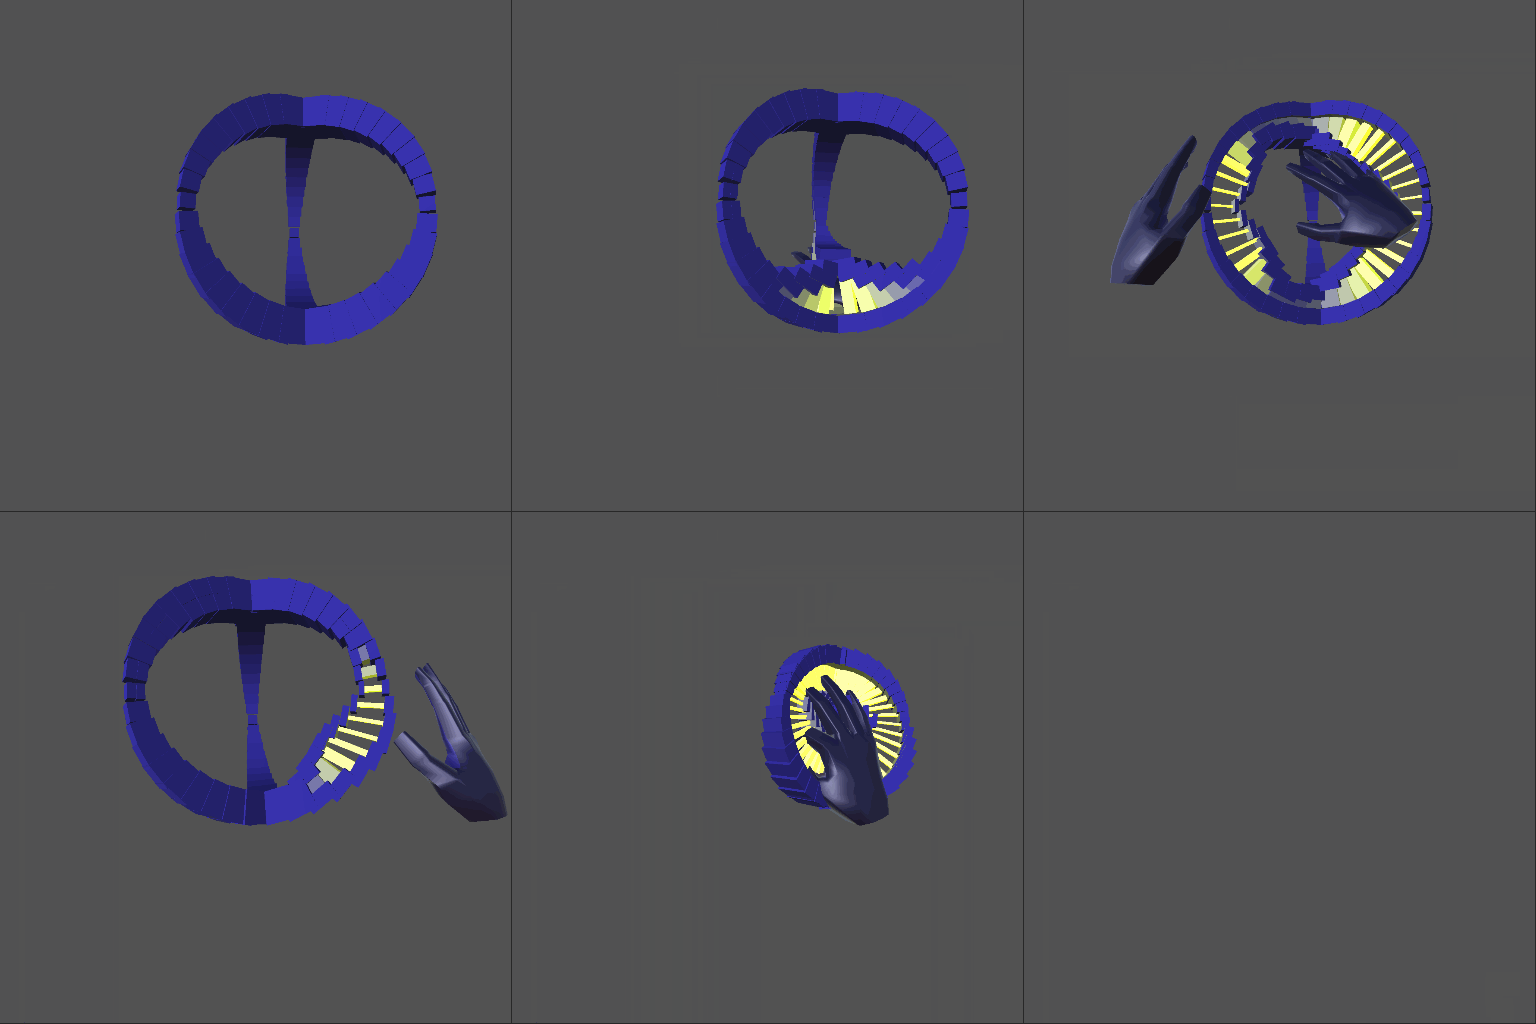
While working on the game Spore, Will Wright spoke about how creative constraints can help us find a maximum “possibility space.” That concept has stuck with me over the years. The deliberately open-ended idea of making a sculpture provides the barest of organizing principles. From there we could begin to define what that sculpture might be by making building blocks from features that need to be tested.
Optimization #1 – Use the Graphic Renderer. The first tool we’ll look at is the Graphic Renderer, which optimizes the runtime performance of large groups of objects by dynamically batching them to reduce draw calls. This can happen even when they have different values for their individual features.
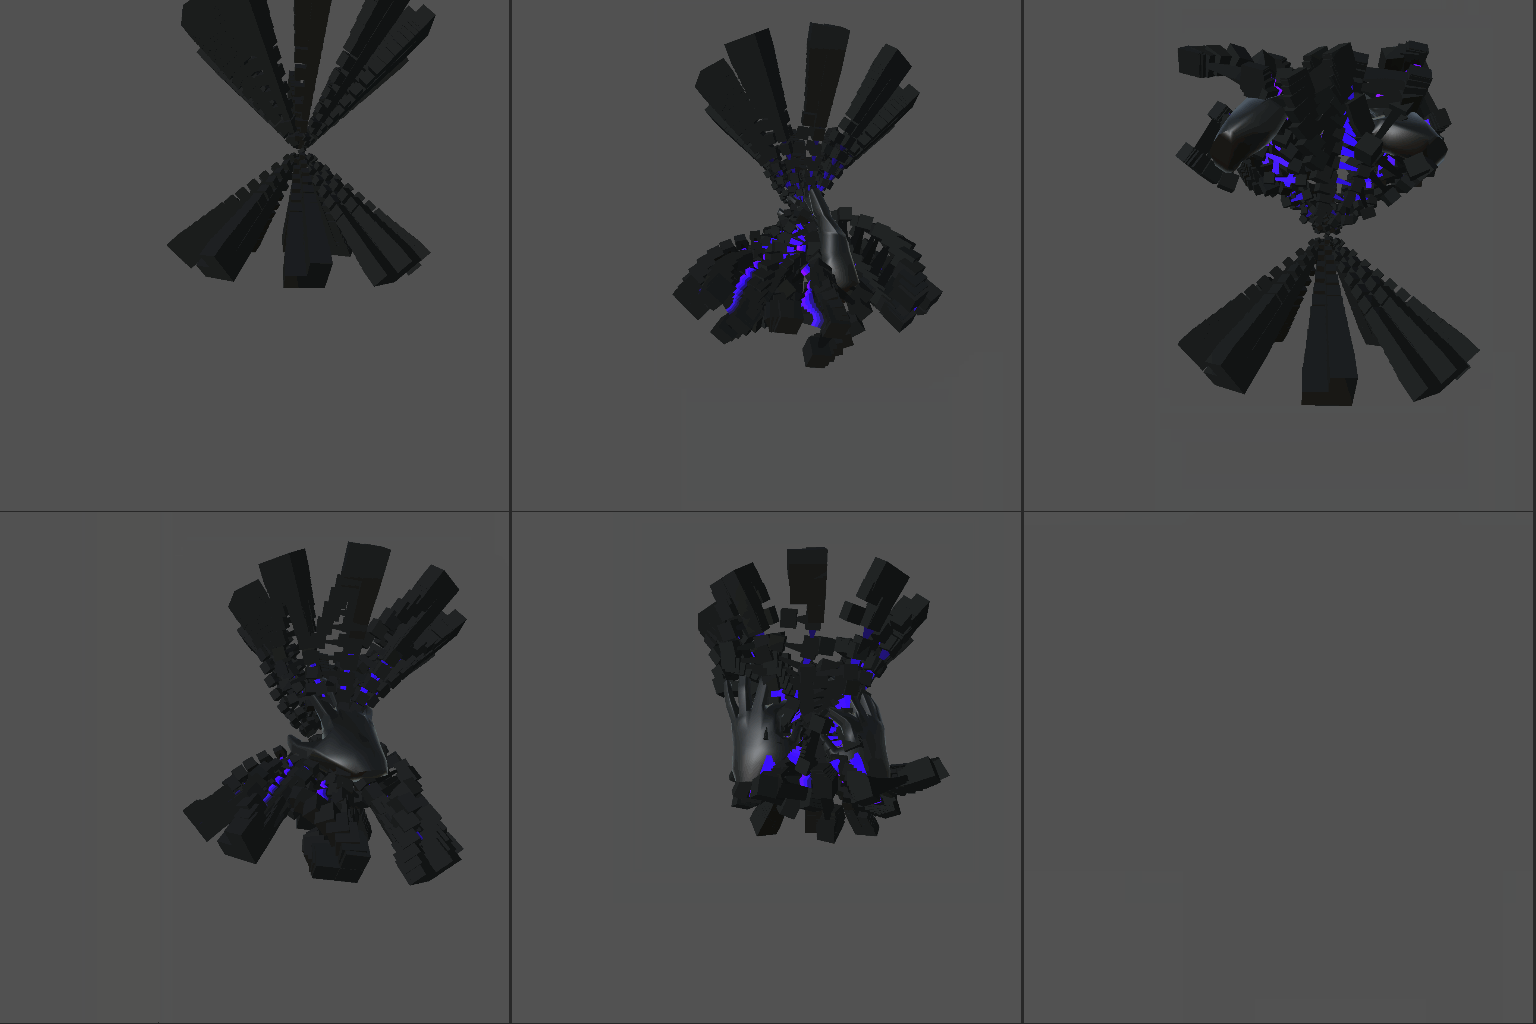
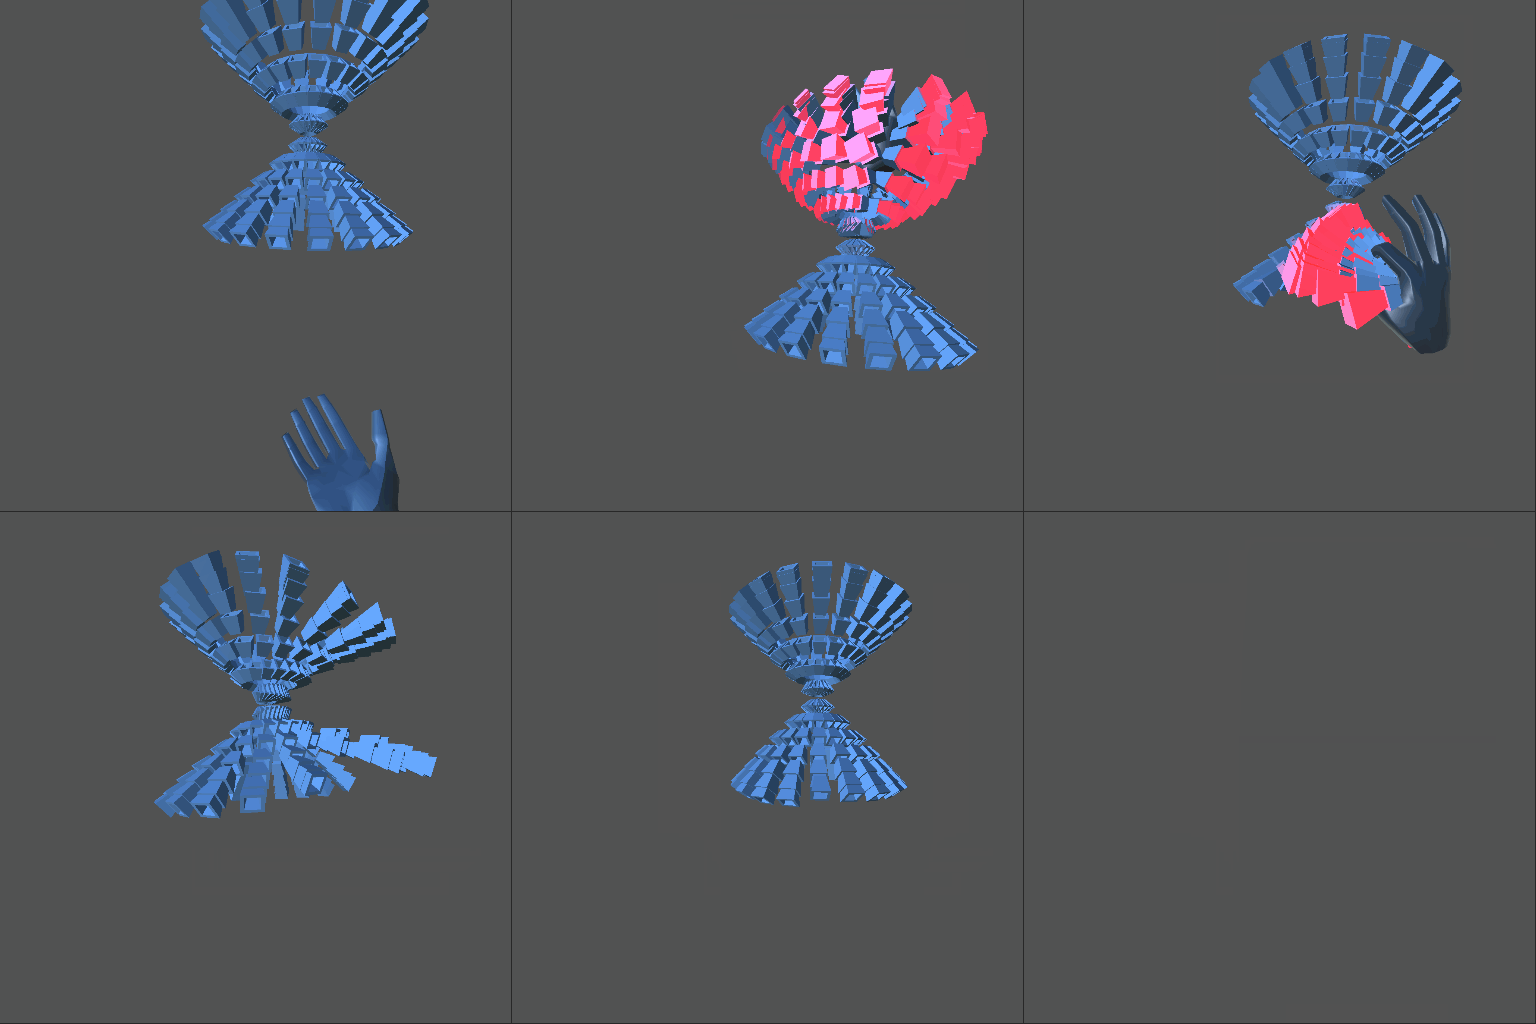
With that in mind, we can create interesting individual objects by varying shape, color, size, morphing transformations, and glow qualities – all while leveraging and testing the module. From there, each object can be made interactive with the Interaction Engine and given custom crafted behaviors for reacting to your hands. Finally, by making and controlling an array of these objects, we have the basis for a richly reactive sculpture that satisfies all our rapid prototyping constraints.
Crafting Shapes to Leverage the Graphic Renderer
Our journey starts in Maya, where we take just a few minutes to polymodel an initial shape. Another constraint appears – the shape needs to have a low vertex count! This is because there will be many of them, and the Graphic Renderer’s dynamic batching limits are bounded by Unity’s dynamic batching limits.
This means that not only the number of vertices matters, but also the number of attributes on those vertices affect dynamic batching limites. So a set of vertices is counted several times, once for each of its attributes such as position, UV, normal, colour, etc. As well, we want our objects to have several attributes for more visual richness and fun.
As groundwork for a reactive morphing behavior, the shape gets copied and has its vertices moved around to create a morph target with an eye toward what would make an interesting transformation. Then the UVs for the shape are laid out so it can a have a texture map to control where it glows. This object is exported to Maya as an FBX file.
On to Unity! There we start by setting up a Leap Graphic Renderer by adding a LeapGraphicRenderer component to an empty transform. Now we begin adding our shapes as children of the LeapGraphicRenderer object. Typically, we would add these objects by simply dragging in our FBXs. But to create an object for the Graphic Renderer we start with an empty transform and add the LeapMeshGraphic component. This is where we assign the Mesh that came in with our FBX shape.
To see our first object, it needs to be added to a GrapicRenderer Group. A group can be created in the Inspector for the LeapGraphicRenderer component. Then that Group can be selected in the Inspector for our object – and our object will appear. For our group, we’re using the Graphic Renderer’s Dynamic rendering method, since we want the user’s hands to change the objects as they approach.
Now we begin to add Graphic Features to our sculpture’s render group. The Graphic Renderer supports a set of features that we’ve been using internally to build performant UIs, but these basic features can be used on most typical 3D objects. After these features are set up, they can be controlled by scripts to create reactive behaviors. As these features are added in the inspector for the Graphic Renderer, corresponding features will appear in the LeapMeshGraphic component for our object.
- Graphic Feature: Texture – _GlowMask – For controlling where the object glows
- Graphic Feature: Blend Shape – For adding a morph target using the FBX’s blend shape
- Graphic Feature: Color Channel – _BackgroundColor – for the main color of the object
- Graphic Feature: Color Channel – _GlowColor – for controlling the color of the glow, we use the Graphic Renderer’s custom channel that will be paired with a corresponding _GlowColor and _GlowMask in a custom variant of one of the shaders included with the Graphic Renderer Module
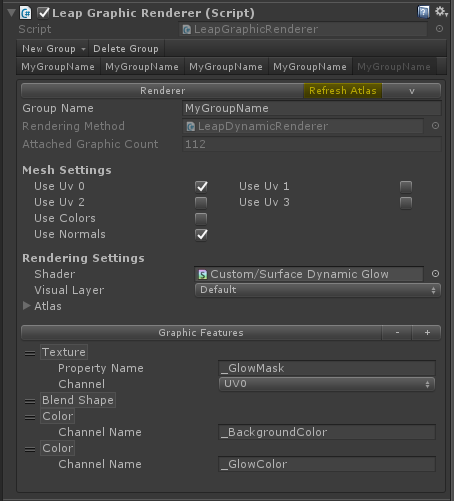
As these features are added to the GraphicRenderer Group, corresponding features appear in the LeapMeshGraphic for any objects attached to that Group.
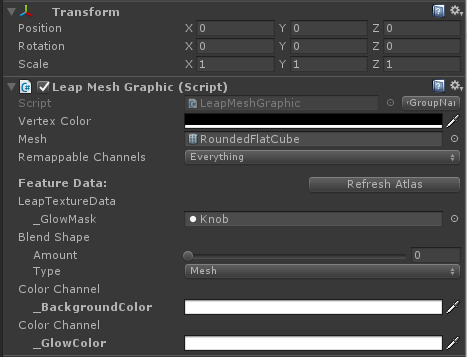
After the initial setup of the first object, it can be duplicated to populate the sculpture’s object collection. This brings us to one of several performance optimizations.
Optimization #2 – Create an object pool for the Graphic Renderer. While it’s easier to populate the object array in script using Unity’s GameObject.Instantiate() method, this creates a dramatic slowdown in the app while all those objects are both spawned and added to the Graphic Renderer group. Instead, we create an object pool that is simply detached from the Graphic Renderer at the start, making them invisible.
Creating this sculpture helped to reveal the need for attaching and detaching objects.The Graphic Renderer’s detach() and TryAttach() methods can come in handy when showing and hiding UIs with many components.
Next, a shader is needed that can work with the Graphic Renderer and be customized to support the main color, glow color, and glow mask features that were added to the LeapMeshGraphic components of the sculpture objects. The Graphic Renderer ships with several shaders that work as starting points. In this case, we started with the included DynamicSurface shader and added the _GlowColor and _GlowMask properties and blend the color with the _BackGroundColor. The resulting DynamicSurfaceGlow.shader gets assigned in each Group in the GraphicRenderer.
Creative constraints in experience design help us find a maximum possibility space. Click To TweetOne current limitation of the Graphic Renderer is the total vertex and element counts that can be batched per render group Fortunately, this is easily handled by creating more groups in the Graphic Renderer component and giving them the same features and settings. Then you can select subgroups of 100 of the sculpture’s object pool and assign them to the new groups. While future versions of the Graphic Renderer won’t have this vertex-per-group-count limitation (partly because of what we found in this ice-cream project!), the Groups feature allows you to have different features sets and rendering techniques for different object collections.
Optimization #3 – Automatic texture atlassing. Another handy feature of the Graphic Renderer, Automatic Texture Atlassing creates a single texture map by combining the other individual textures in your scene. While this texture is larger, it allows all objects with the textures it includes to be rendered in a single pass (instead of a separate pass for objects using each texture). So for our sculpture, each object can have a unique glow mask made specifically for that object.
Automatic texture atlassing is set up by adding a texture channel to the Graphic Renderer group Inspector under /RenderingSettings/Atlas/ExtraTextures.Then, since it can take time to combine these textures into the atlas, a manual “Update Atlas” button is provided, which indicates when the atlas needs to be compiled. You won’t need to interact with the atlas and can work with your individual textures as in a typical workflow.
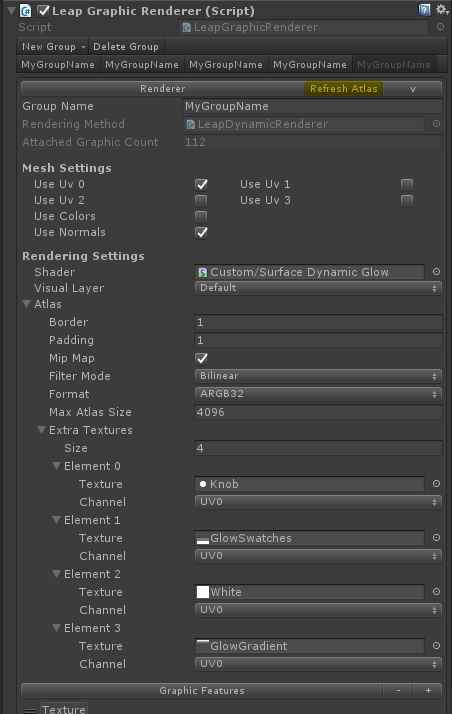
While the Graphic Renderer’s performance optimization power requires a different asset workflow and some setup, its rendering acceleration is invaluable in resource-tight VR projects. Closely managing the number of draw calls in your app is critical. As a simple measure, we can see in the Statistics panel of the Game Window that we’re saving a whopping 584 draw calls from batching in our scene. This translates to a significant rendering speed increase.
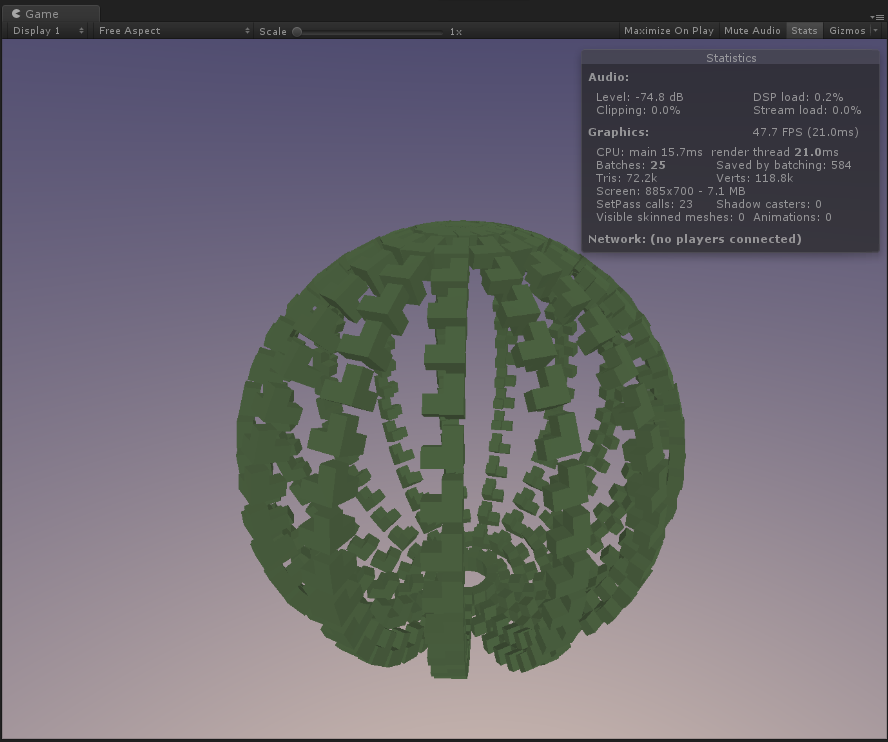
With our Sculpture’s objects set up with Graphic Renderer features, we have a rich foundation to explore some of Leap Motion’s Interaction Engine capabilities and to drive those those graphic features with hand motions.
The sculpture is deliberately made to have a dynamically changing number of objects, and show more objects than either the Graphic Renderer or Interaction Engine can handle. This is both to test the limits of these tools and to refine their workflows (and of course to continue to investigate how hands can affect a virtual object). In our next post, we’ll make the sculpture react to our hands in a variety of interesting ways.
