Andrew Maxwell-Parish is a maker and hardware hacker who manages the Hybrid Lab at California College of the Arts in San Francisco. A version of this post originally appeared on Instructables. You can see more of Andrew’s work at electricslim.net, or watch his recent talk about how experimenting with hardware can change the world.
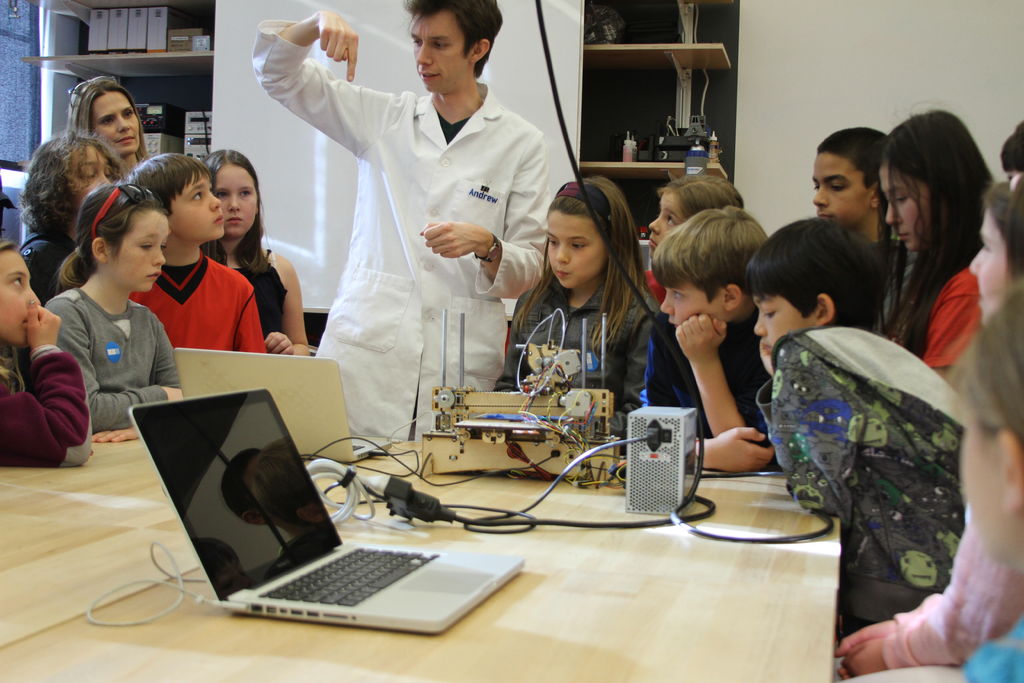
I manage a creative technology lab at California College of the Arts, where I assist students with a wide range of skills and create a wide range of projects. One of many parts of my job is to show current and prospective students why these are valuable skills to learn. I can and do tell them that even a basic understanding of how to develop technology is going to put them above the pack as a designer.
But this isn’t a very entertaining argument. So, what is an entertaining way of getting them excited about electronics and technology development? Showing them projects that have only been made recently possible and blowing their minds!
This is one of the projects that I use to do this. Without touching anything, it allows you to control the functionality of a 3D printer (or anything that uses G-code). Without touching anything, you can control a machine. Waving your hand in the air, allows you to control a complex machine. That’s some Tony Stark future stuff right there. Future stuff in the present moment.
Step 1: Haters gonna hate, or why I’m going on a hate rant on the haters

“I guess it’s a learning experience but for the creator, but completely pointless and waste of time otherwise I think.”
“I don’t get it.”
“That’s… neat… but utterly useless.”
“It looks like it makes no difference for a drunk driver who is about to hit you.”
“Hmm, I can’t help but think the approach with face detection is a bit over the top.”
“This is overly complex.”
These are comments I’ve received from previous projects. It’s because of comments like this that I’ve stalled posting this project for a couple of months. Why? Because I have a feeling that there is going to be a very vocal group of people who are going to hate it. Yes, I took a very precise machine and made it imprecise and impractical. Yes, gestural control for a 3D printer is not necessary. Yes, there are probably a variety of different things to achieve the same effect.
Why does it matter? It’s still an interesting project and it sparks imagination. That is why doing new things, even if they are completely impractical in its current state, is important. By generating new ideas and displaying these ideas, it allows a chance for new ideas to be generated and built from it. I’ve shown this project to quite a few people and it consistently sparks imagination.
he more interesting one I’ve heard is using it as a computer interface for primate to control a machine to give themselves rewards (like a banana!). That would be fascinating! There have also been a lot of idea for drawing robots, hooking it up to a CNC router to create sculptures, etc. These are the ideas and comments that make it worthwhile! Build on the ideas of others or ignore them, don’t try and tear them down by being a sucky, overly critical person. Sucky people suck.
Step 2: The setup and how it works

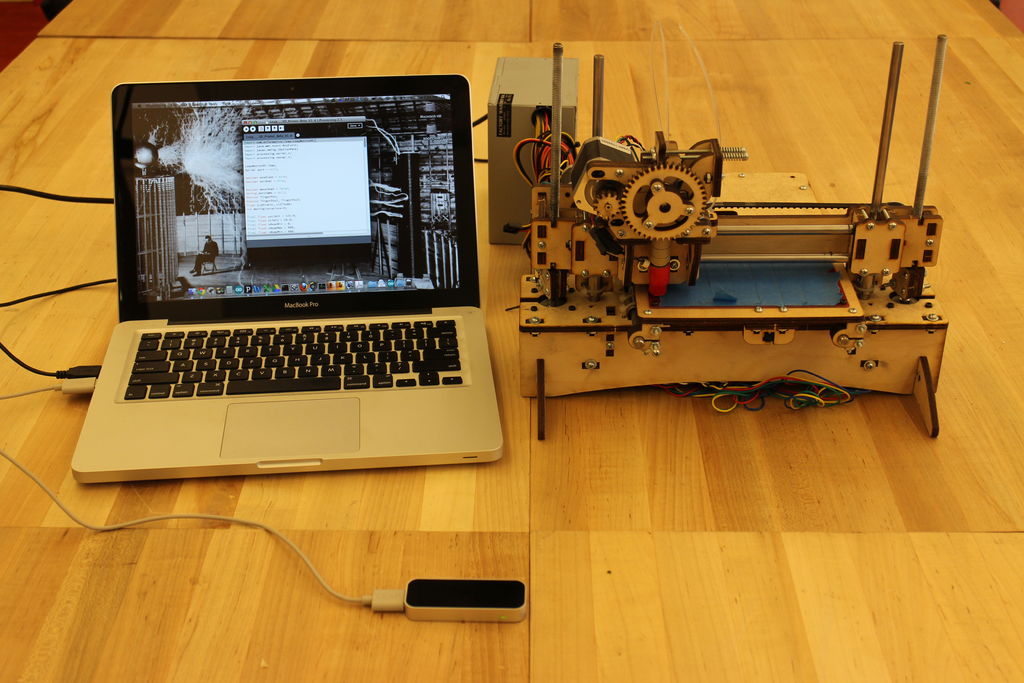
The setup for this project is a Leap Motion Controller, a 3D printer with an Arduino-based controller (newer Makerbots won’t work without some tinkering), and the program is run with Processing. In order to use the Leap Motion device with Processing, you need to install this library.
The Processing sketch is gathering the Cartesian coordinates (X, Y, and Z) of your fingers read by the Leap Motion Controller. It takes these values and converts it into the Cartesian coordinates needed for the 3D printer, packages it into G-code format, and sends it over the printer.
Step 3: The original G-code

G-code is pretty awesome. Even Juvenile and Lil’ Wayne think so. The Geto Boys know what’s up. They are all about maximizing the capabilities of computer numerically controlled machines. “I was born in the G-code, embedded in my blood.” Me too, Geto Boys. Me too.
The original G-code is used to communicate with CNC machines like a 3D printer. It tells the machine where to move, how fast to move, what temperature it should be at, how fast should the spindle be, set home position, and a whole bunch more. Any parameter that you need to control on a CNC machine is controlled by G-code.
There are a few commands that are good to know about before you use the program. For all of these commands, you need to send it the new line (“\n”) command afterwards. Take a look at the code (further down) for an example of when to use the new line command.
G28 – This homes the printer. You want to do this right away. It will move all three axes until it hits the endstop switches. If you don’t home the printer, it will assume the position the extruder is at when it first powers up is home. This is rarely your home. Why would you pretend this is your home?
G1 – This is telling the machine to move. You have to tell it where to move. If you sent the machine the command “G1 X2 Y3 Z4” it would move to position 2 in the X axis, 3 in the Y, and 4 in the Z. The machines I tested it out on set the units to millimeters. You can even tell it how quickly to move with the feedrate. “G1 X2 Y3 Z4 F1000” would move pretty slow. “G1 X2 Y3 Z4 F8000” moves at a reasonably fast rate.
M203 sets the maximum feedrate. The maximum feedrate for the Z axis was painfully slow for the machines I used, so I set it higher with “M203 Z15”.
For using the extruder, M104 will set the temperature of the extruder and M109 will stop everything and wait until the extruder reaches that temperature. If you wanted to set the temperature to 195 degrees Celsius, you send the command “M104 S195”, followed by “M109 S195”.
Step 4: Overview of the Processing sketch

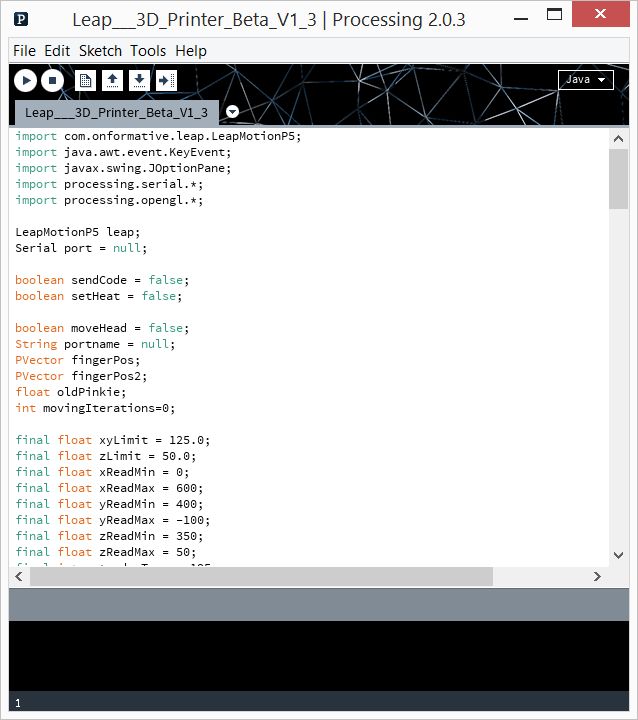
You can download the Processing sketch here.
There are a few things to point out and modify if needed.
xyLimit & zLimit are the maximum distances that can be moved on these axes. These values are in millimeters.
xReadMin, yReadMax, etc. are setting the range that is being read by the Leap Motion Controller. The device can read larger than these areas but I wanted to confine it into a smaller area. It also seemed like the Leap Motion Controller would be less consistent the further away from the device you are. But maybe I made that up. I don’t remember anymore.
There is some code that I borrowed that asks you what serial port you want to connect to when you first run the program. It’s a little annoying because you need to set it each time you run the program but far less annoying than any other method I’ve used (especially when it doesn’t work).
Step 5: Use it and abuse it
To be honest, I’m kind of sick of this project. I wrote the basic structure of the code on a Sunday afternoon a few months ago. I’ve played around with extrusion and gotten it to work. As you can expect, anything you try and make looks terrible. It’s an interesting concept of free-form creation without any physical contact with your material or your tool. So, that’s kind of cool.
I think there are a lot of interesting areas that could be explored but I haven’t thought of them. What about you? Do you have ideas for where this could be taken? If so, take whatever is salvageable of my code and use it, modify it, build upon it. And please share what you’ve created.

[…] a 3D printer with Leap Motion technology (which we’ve reposted here on Developer […]
February 17, 2014 at 2:50 pm[…] a 3D printer with Leap Motion technology (which we’ve reposted here on Developer […]
March 2, 2015 at 8:12 pmHello, I want to do something similar to you but the Processing sketch is missing, can you upload one more time?
April 11, 2017 at 7:44 am